
Estimated reading time: 5 minutes
If you’re starting a podcast, equipment will be high on your list of priorities – and for good reason. 51.1% of podcast fans prefer podcasts with professional audio quality.
With this in mind, if you want to avoid alienating more than half your listeners with poor audio quality, it’s really worth considering what equipment you’ll be using. (As a sidenote, you can read about more tips for podcast creators in our blog.
When considering what equipment to use for your podcast, there isn’t an answer that works in every situation. There are just too many variables to take into consideration. Setting up a studio gives you complete control of how your show will sound, but your podcast’s concept might revolve around meeting guests in public spaces. What are you supposed to do then?
We’ll try and give suggestions that will help in every situation, but our advice throughout this blog post will generally revolve around equipment that guarantees you get the best audio quality possible.
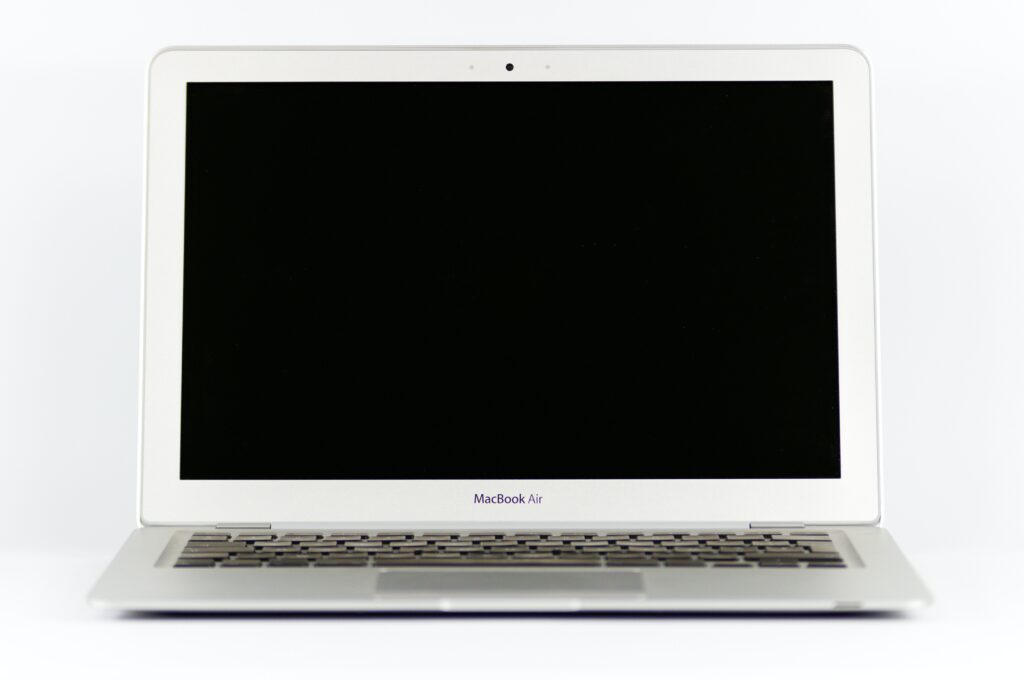
1. Yes, you will need a computer
I know, I know, there are podcasts recorded and edited entirely on mobile phones. I’m not saying it’s not possible. It just won’t get you the best results possible. A computer or laptop that has the specs necessary to capture/edit audio and video will definitely help you to produce the best podcast you can (but if you’re not convinced about using video, you should read our article here).
The main thing you will need to consider here is whether you need it to be portable. If so, a laptop might be the obvious choice.
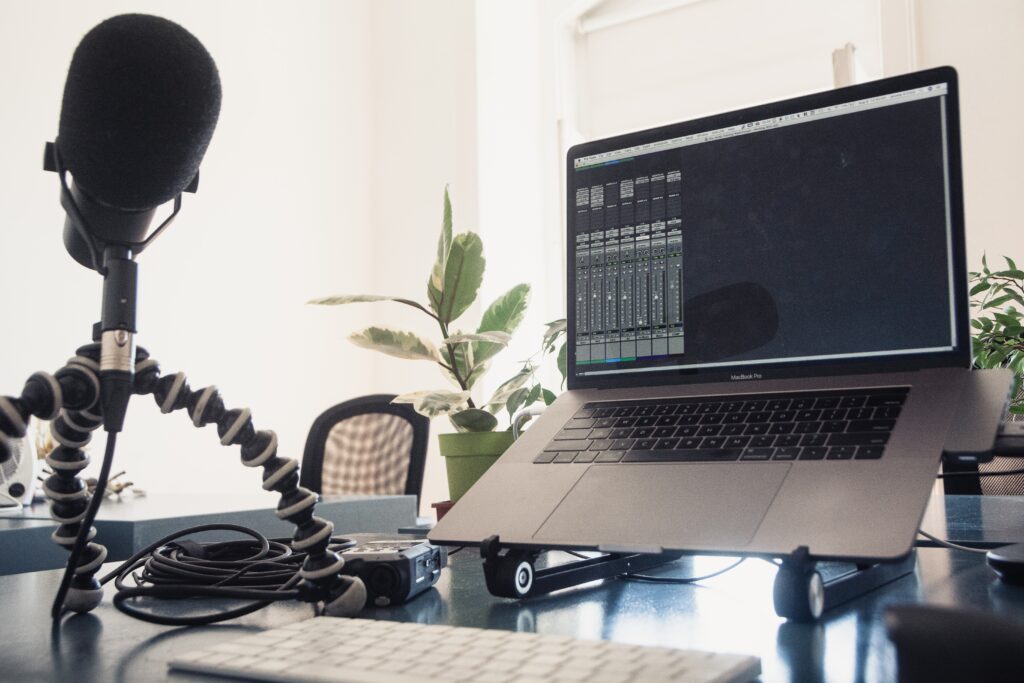
2. Mic up
Without a microphone, you wouldn’t have a podcast. You probably have an old microphone lying around the house – something from an old karaoke kit, an old headset, the one on your webcam. But these probably won’t do if you’re looking to produce a quality podcast.
There’s a huge array of USB microphones available that can connect directly to your laptop, and this will erase the need for further bits of (admittedly quite pricey) equipment. The quality of USB microphones have definitely gone up in recent years – something like the AKG Lyra or the Rode NT-USB Mini could definitely be considered. But the main disadvantage, generally, is that you can only plug one USB microphone into your computer at a time… unless you use the Rode NT-USB Mini, which removed this problem by allowing you to plug up to four mics into your computer at once.
The focus of this article is to help reach premium audio though. If that’s the goal then an XLR mic is the way forward. Yes, they require extra equipment as they won’t connect directly to your computer or store audio on them. Yes, generally they cost a bit more too and you might go through a few XLR leads before you learn to store them adequately (allow the loops to form themselves and don’t tie them in a knot). But trust me, the quality and production control you get is completely worth the extra payout.
We recommend something like the Shure SM7B or the Rode Procaster, but there are plenty of options out there.
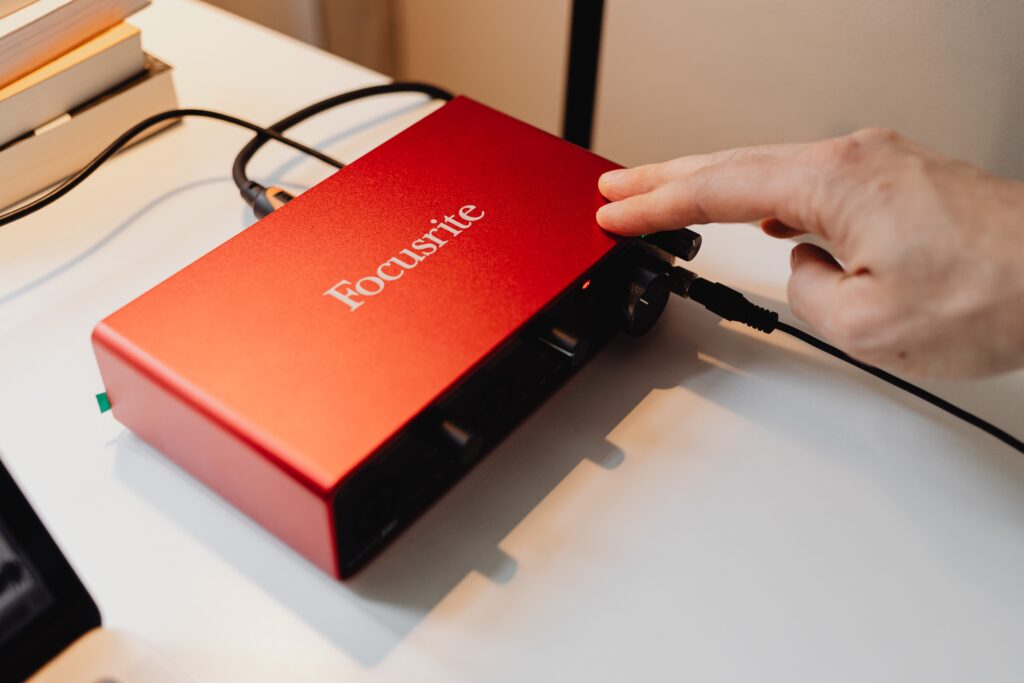
3. USB interface/mixer
So, you’ve gone out and bought 3 XLR microphones for your roundtable podcast. But there’s only one problem: they won’t connect to your laptop. That’s where an interface or mixer comes into play. They allow you to plug in one or more XLR mics, record live, and depending on the model, even adjust levels as you record. Something like the Focusrite Scarlett 2i2 should do the job nicely if you’ve only got two speakers.
But what if you’re always recording remotely? Well, we would probably recommend you go down the route of a Digital Recorder instead. These can capture and store audio on them, with good quality ones allowing you to make the best audio possible.
Of course, if you’re working remotely, your sound quality will always be more varied than if you have a dedicated studio, but something like the Zoom H5 will get some great results. And the best part? A lot of them allow you to connect your XLR mics to boost your audio quality even further..
Curveball: There is one piece of equipment that is reasonably new on the market and can be used as both a USB Interface AND a Digital recorder. The Zoom Podtrack P4 is making waves in the podcasting industry. It also takes up to 4 XLR mics and gives you a lot of flexibility on the fly. We’ve not had the pleasure of trying one out yet, but definitely worth having on your radar.
4. Extra bits and bobs
If you’re extremely lucky and you’re recording a one-person podcast in a room with perfect acoustics, then you’re done. That’s all you need! Chances are though, this isn’t the case.
There are some extra bits of equipment you may want to get your hands on, which can be the key difference between good and poor audio quality. Some will be more or less essential depending on your setup. But they are all quite self-explanatory, so we’ll shoot through them:
- Headphones – Monitor your levels and if recording interviews remotely, stop your mic from picking up the other person’s voice over your speakers (seriously, this can kill the quality of your podcast and will make the editing hell). I use the DT 770 PRO, but there are many options out there.
- Pop Filter – Plosives: it’s a fun word. It describes the popping sound that occurs when air is being forced out when pronouncing certain letters. It happens a lot when you say the letter ‘p’ and microphones really hate it. Get a pop filter and the problem will be greatly diminished.
- Acoustic Treatment – Some rooms sound terrible, echo everywhere. If that’s a problem you’re facing, then acoustic treatment will help! EQ Acoustics offer some great solutions for all size rooms.
- Mic stand with a shock mount – It might seem really cool to hold your mic, lean back and have a chilled out conversation, but your audience won’t appreciate the thumps and bumps your microphone will continually make. Do yourself a favour and put that mic on a stand – or go one step further and add a shock mount, which will remove any sounds that come as a result of accidentally knocking your desk. A mic stand and a shock mount often come as a pack, so you can kill two birds with one stone.
That’s it! Checklist complete. Now it’s time to go and do what really matters: record a podcast. But hold on – you might have all the kit, but have you got all your recording and editing software ready yet? No worries, we’ll cover that in a future post!